Using Docker Compose and Amazon ECR in Azure Devops Pipelines

Using Docker Compose and Amazon ECR in Azure Devops Pipelines

Technical - January 13, 2021

Docker packages application and all its dependencies together in the form of a docker container to ensure that application works seamlessly in any environment. However, if you want to create more than one container for your application, you have to create several Docker files. Maintaining them can be a complex process and also quite time-consuming. Docker Compose, Azure Pipelines and Amazon ECR solves this problem by allowing you to automatically build, store and run multiple docker images.

1.Docker Compose:

Compose solves the problem by allowing you to use a YAML file to operate multi-container applications at once. You can set the desired amount of containers counts, their builds, and storage designs, and then with a single set of commands you can build, run and configure all the containers.

Docker Compose is great for development, testing, and staging environments, as well as continuous integration work-flows. Compose file is a YAML file which defines services, networks and volumes.

A service definition contains configuration that is applied to each container started for that service, much like passing command-line parameters to docker run. Likewise, network and volume definitions are analogous to docker network create and docker volume create.

So, using Compose is basically a three-step process:

  1. Define your app’s environment with a Docker file so it can be reproduced anywhere.
  2. Define services that make up your app in docker-compose.yml so they can be run together in an isolated environment.
  3. Run docker-compose up and Compose starts and runs your entire app.

Example Docker Compose
.env file sample
TAG=latest
ENV_DEV=Development
ENV_UAT=Uat
ENV_PROD=Production
DEV_PORT=8000
UAT_PORT=8001
PROD_PORT=8002

Build sample

  • version: ‘3.4’
  • services:
    demo.webapp:

    • image: demo.webapp:${TAG}
    • build:
      • context: .
      • dockerfile: Demo/Dockerfile

This compose file builds dockerfile “Demo/Dockerfile” and creates the docker image “demo.webapp:${TAG}”

Release sample
version: “3.4”
services:

  • demo.dev:
    • container_name : demo.dev
    • image: url/demo.webapp:${TAG}
    • environment:
      • Environment__Value=${ENV_DEV}
    • ports:
      • ${DEV_PORT}:80
    • volumes:
      • dev-data:/data
  • demo.uat:
    • container_name : demo.uat
    • image: url/demo.webapp:${TAG}
    • environment:
      – Environment__Value=${ENV_UAT}
    • ports:
      • ${UAT_PORT}:80
    • volumes:
      • uat-data:/data
  • demo.prod:
    • container_name : demo.prod
    • image: url/demo.webapp:${TAG}
    • environment:
      • Environment__Value=${ENV_PROD}
    • ports:
      • ${PROD_PORT}:80
    • volumes:
      • prod-data:/data
  • volumes:
    • dev-data:
      • driver: local
    • uat-data:
      • driver: local
    • prod-data:
      • driver: local

Docker Compose Commands:

  • docker-compose up –d
  • docker-compose down

2.Amazon ECR

Amazon Elastic Container Registry (ECR) is a fully-managed Docker container registry that makes it easy for developers to store, manage, and deploy Docker container images.

AWS Cli commands:

  • docker push url/demo.webapp:${TAG}
  • docker pull url/demo.webapp:${TAG}

Alternatives :

  • Dockerhub
  • Azure Container Registry
  • Google Container Registry
  • JFrog Artifactory

3.Azure Pipelines

Azure Pipelines helps to Automate your builds and deployments with Pipelines so you spend less time with the nuts and bolts and more time being creative. It works with just aboupt any language or project type. Azure Pipelines combines continuous integration (CI) and continuous delivery(CD) to constantly and consistently test and build your code and ship it to any target.
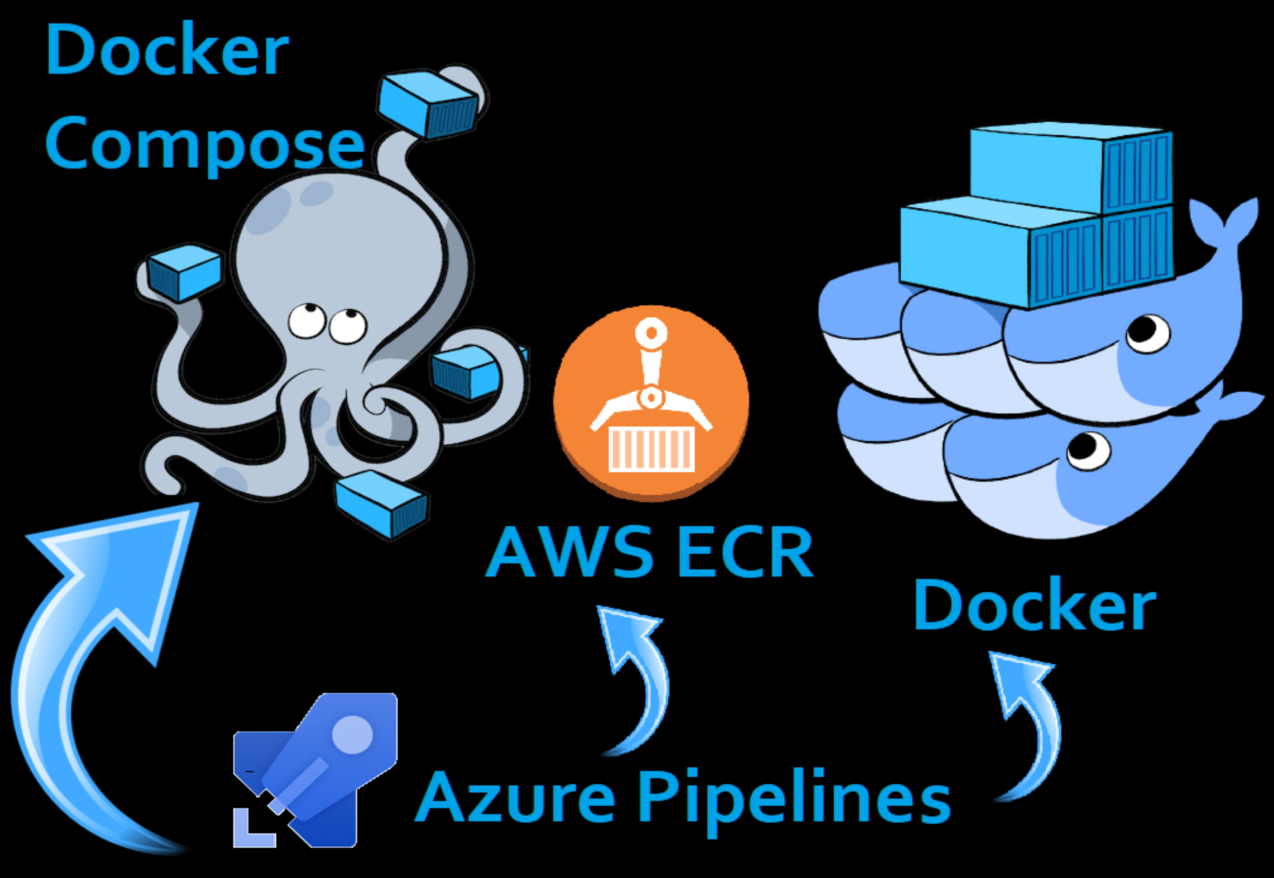
Using Docker Compose and Amazon ECR with azure devops pipelines

  • Pipelines Jobs(Docker build)
    • jobs:
      • job: Job_1
        • displayName: Agent job 1
        • pool:
          vmImage: ubuntu-16.04
        • steps:
          • checkout: self
          • task: UseNode@1
        • displayName: Use Node 10.x
          •  task: DockerInstaller@0
        • displayName: Install Docker 17.09.0-ce
          – task: DockerCompose@0
        • displayName: Run a Docker Compose
          • inputs:
            • dockerComposeFile: client/build-docker-compose.yml
            • dockerComposeFileArgs: TAG=$(Build.BuildId)
            • dockerComposeCommand: build
        • task: ECRPushImage@1
          • displayName: ‘Push Image: common-webapi’
          • inputs:
            • awsCredentials: 2930e174-de68-49f5-9f21-0700b923a259
            • regionName: ap-southeast-2
            • sourceImageName: easyrogo-client
            • sourceImageTag: $(Build.BuildId)
            • repositoryName: easyrogo-client
            • pushTag: $(Build.BuildId)
        • task: CopyFiles@2
          • displayName: Copy release-docker-compose.yml
          • inputs:
            • SourceFolder: client
            • Contents: >-
              **/release-docker-compose.yml
              **/.env
            • TargetFolder: $(Build.ArtifactStagingDirectory)
            • OverWrite: true
        • task: PublishBuildArtifacts@1
          • displayName: ‘Publish Artifact: drop’


  • Releases steps(Docker run)
    • steps:
      • task: AmazonWebServices.aws-vsts-tools.ECRPullImage@1
        • displayName: ‘Pull Image: demo.webapi’
        • inputs:
          • awsCredentials: AWS
          • regionName:’ap-southeast-2′
          • repository: demo.webapi
          • imageTag: ‘$(Build.BuildId)’
      • task: DockerCompose@0
        • displayName: Run a Docker Compose Dev
        • inputs:
          • dockerComposeFile:’$(System.DefaultWorkingDirectory)/_Demo
          • Dokcercontainer/drop/release-docker-compose.yml’
          • dockerComposeFileArgs:
            TAG=latest
            ENV_DEV=Development
            ENV_UAT=Uat
            ENV_PROD=Production
            DEV_PORT=8000
            UAT_PORT=8001
            PROD_PORT=8002
            dockerComposeCommand: ‘up -d’